Products
By Room
Beginner Tips


- Technical Details
- Limitations
- Directions For Use
Technology |
Cementitious self-levelling compound |
Thickness |
Feather edge to 50 mm |
Coverage |
~1.6 kg/m² per mm thickness |
Cure Time |
Walkable after ~4 hrs (depending on depth) |
- Not suitable for areas subject to continuous water immersion
- Avoid applying in very hot, dry, or windy conditions
- Prepare surface, ensuring primed substrate.
- Mix with correct water ratio.
- Pour onto floor and spread with trowel.
- Allow to flow and self-level.
- Let cure before installing flooring.
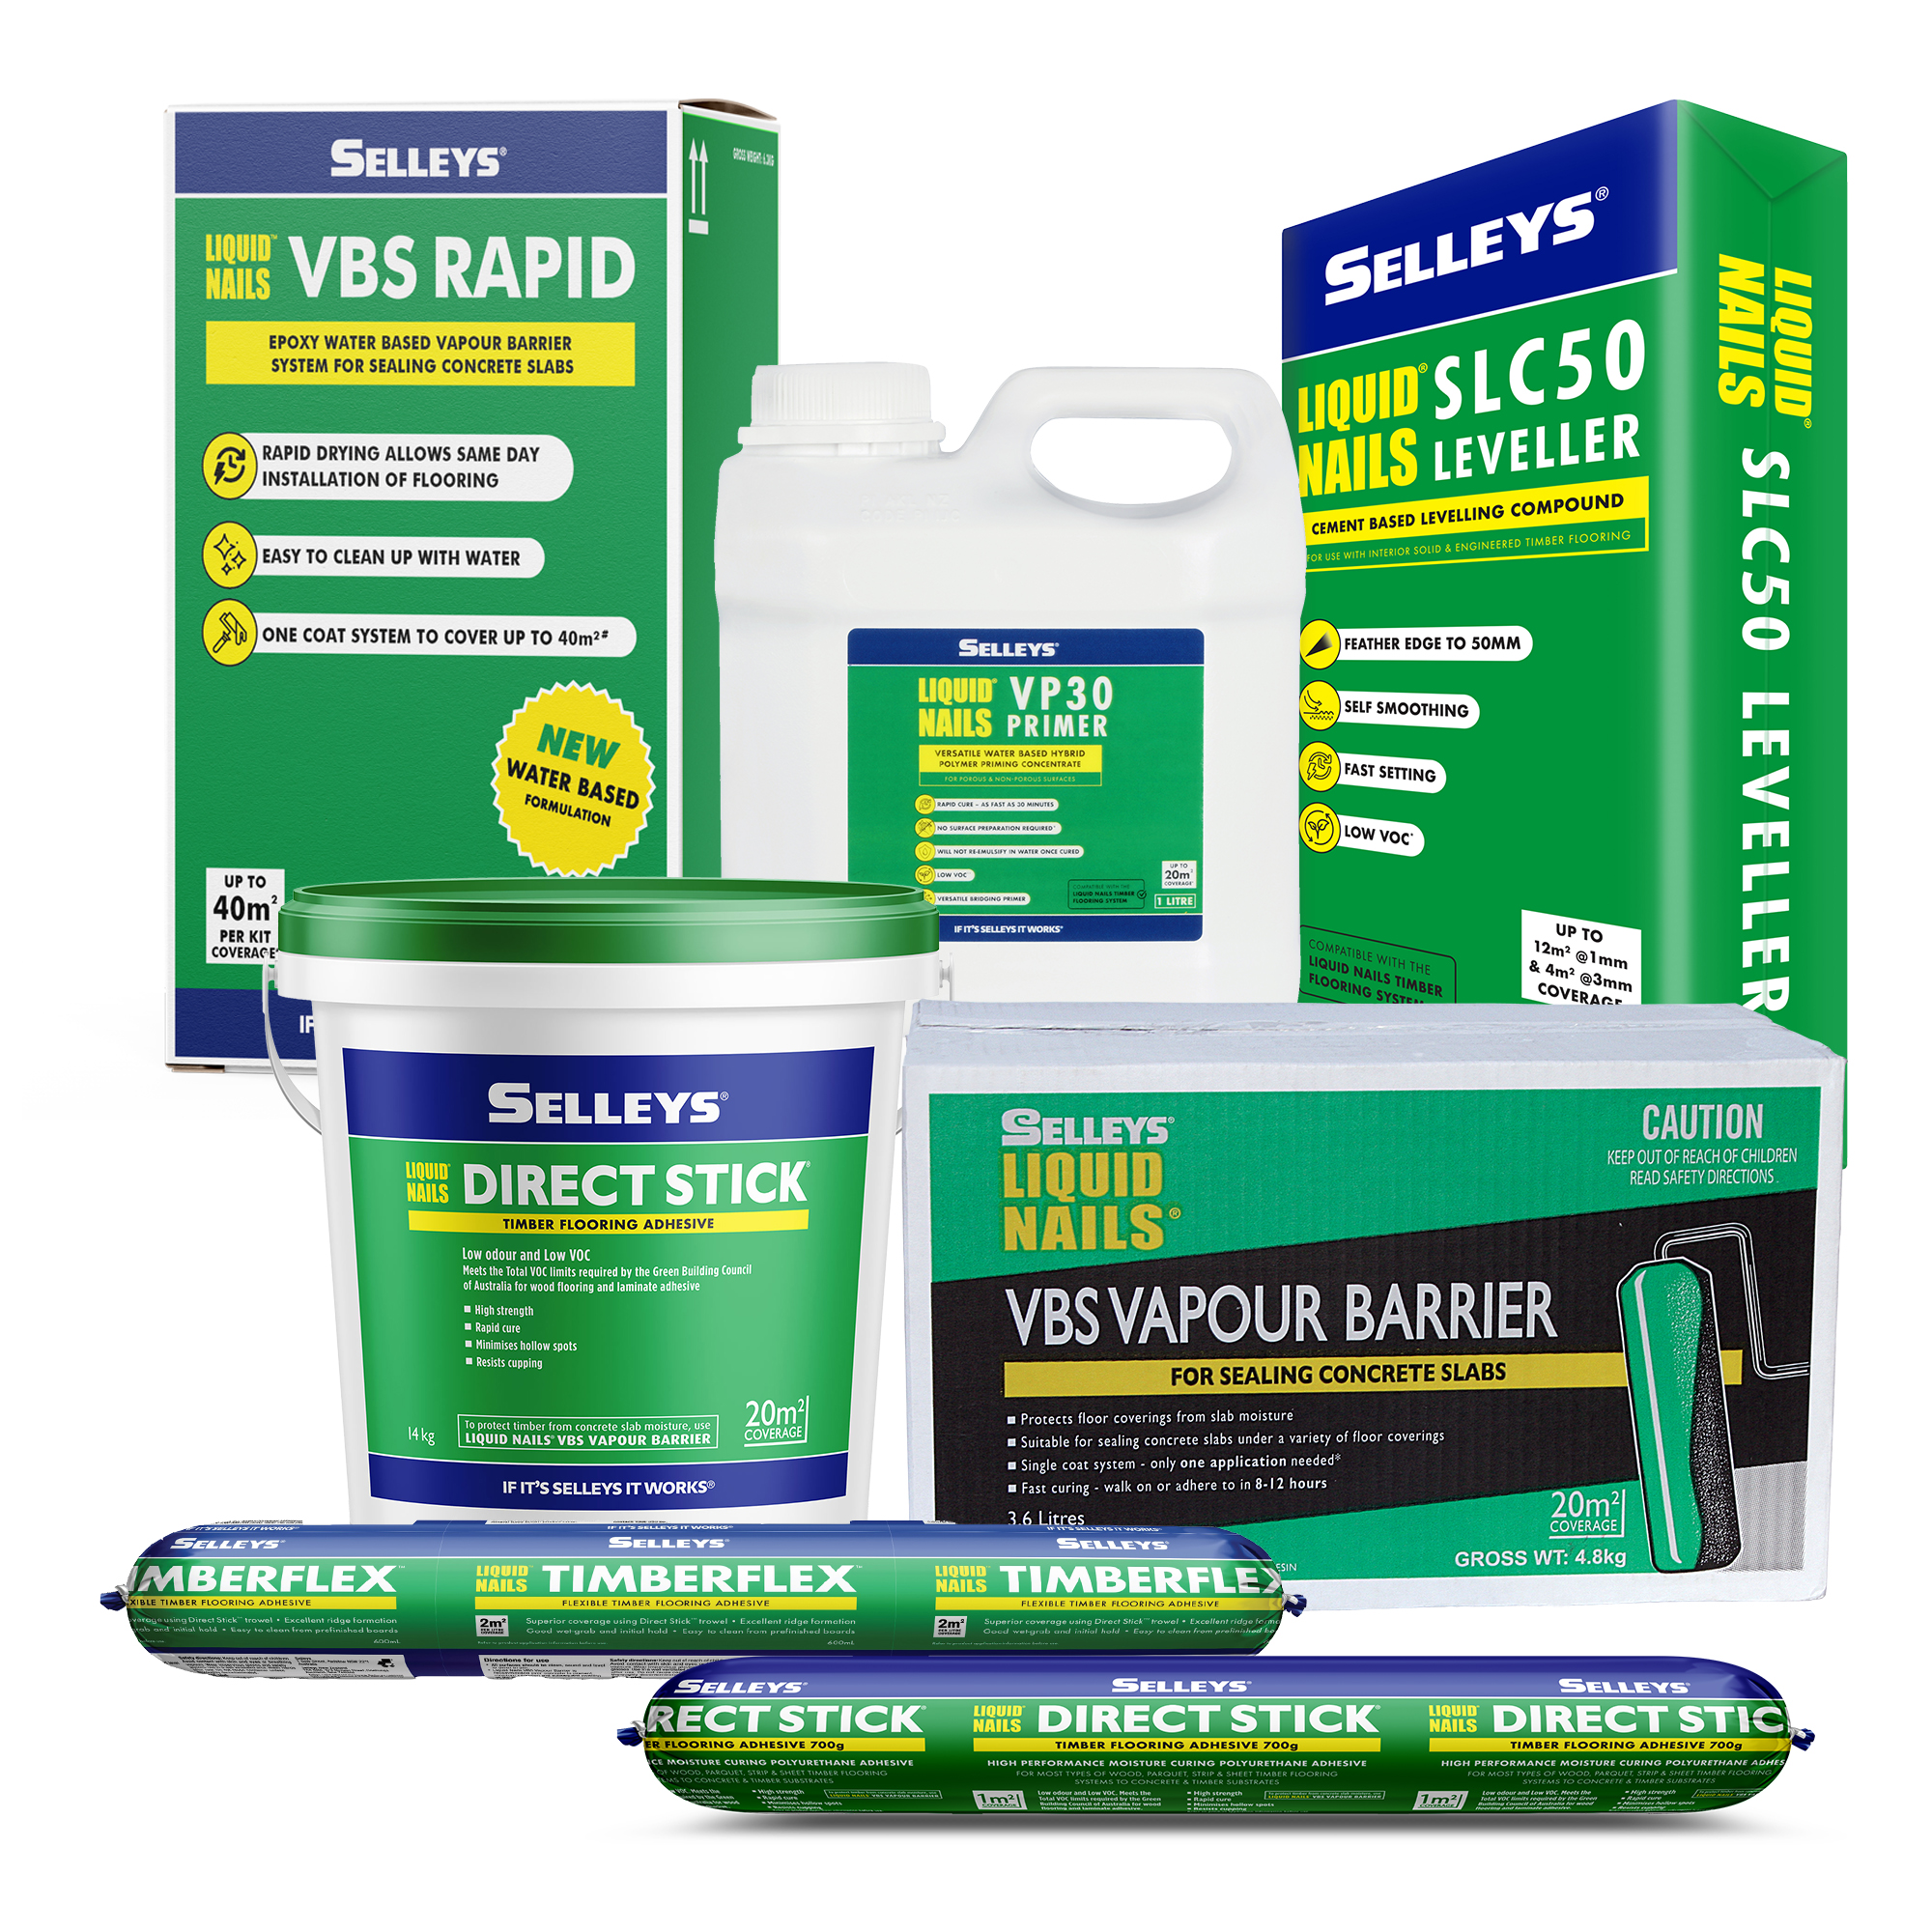
Product Range
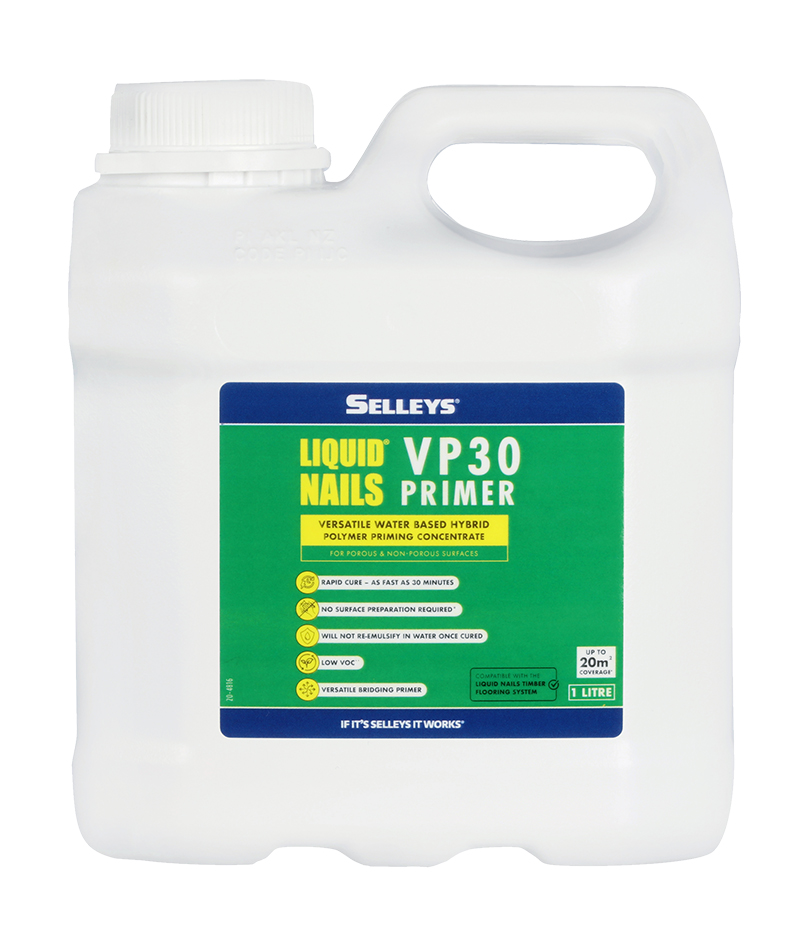
Selleys Liquid Nails VP30 Primer
- Fast cure (30 mins)
- Low VOC, low odour
- Water clean-up
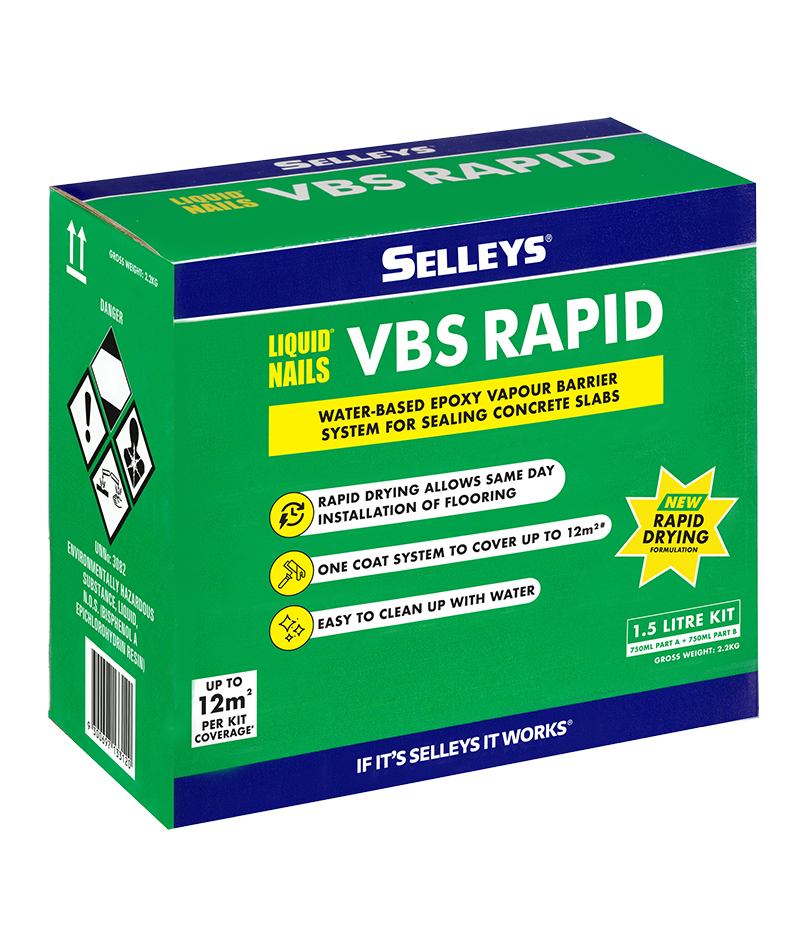
Selleys Liquid Nails VBS Rapid
- Moisture barrier for slabs
- Fast cure
- Dry-time indicator
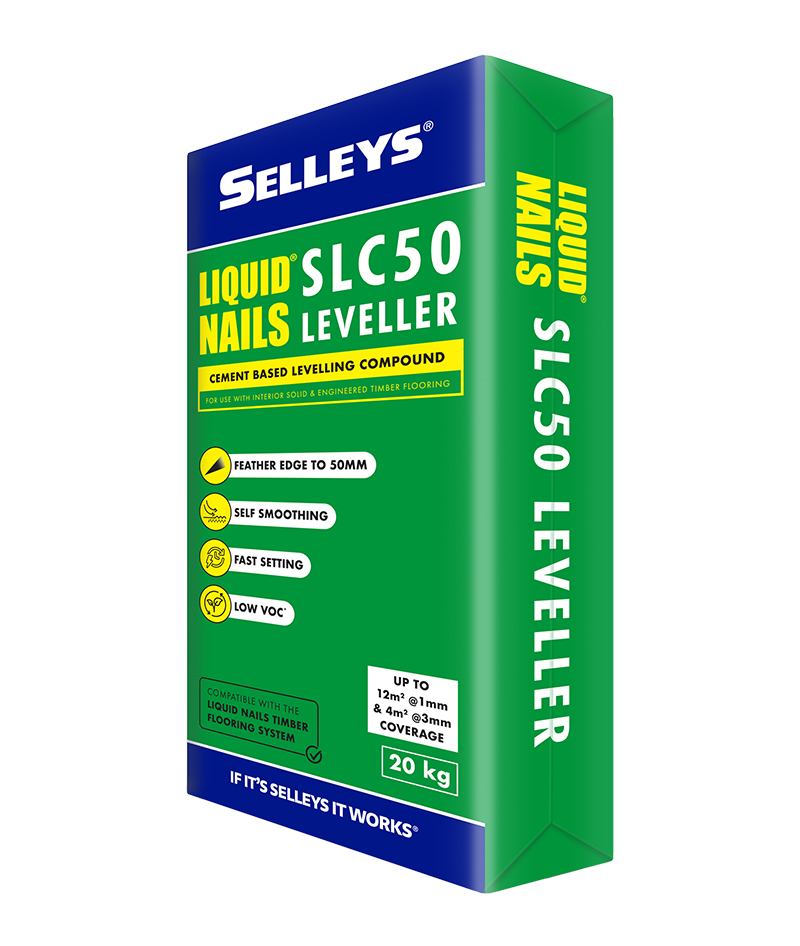
Selleys Liquid Nails SLC50 Leveller
- Levels up to 50 mm
- Self-smoothing
- Fast set
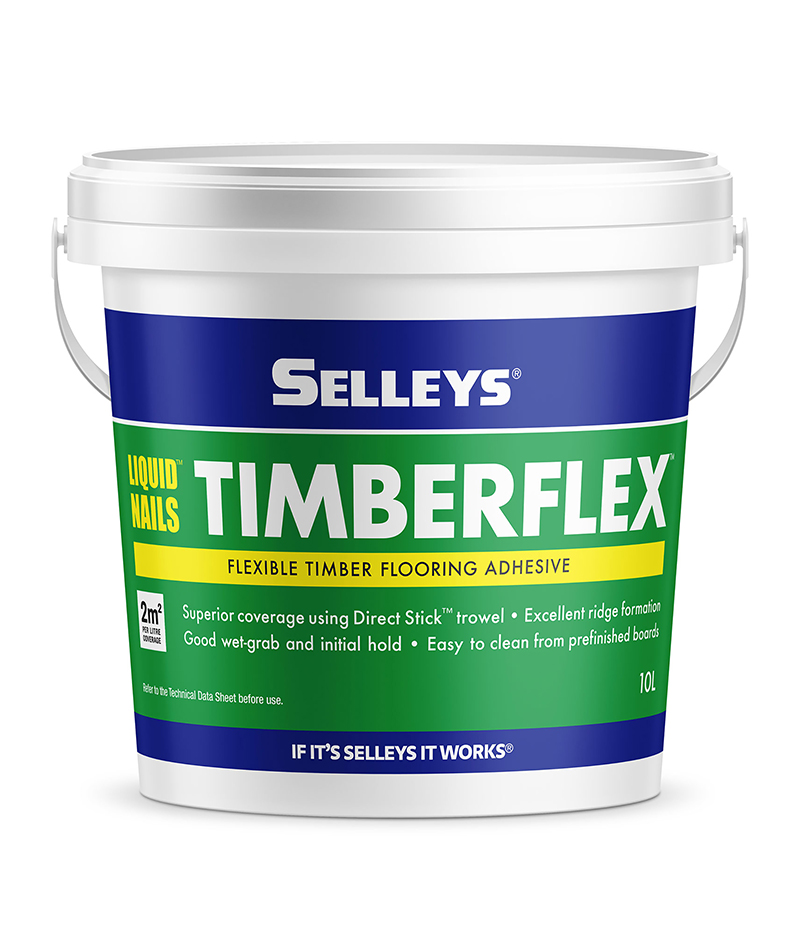
Selleys Liquid Nails Timberflex
- High coverage
- Easy clean & spread
- Flexible & strong bond
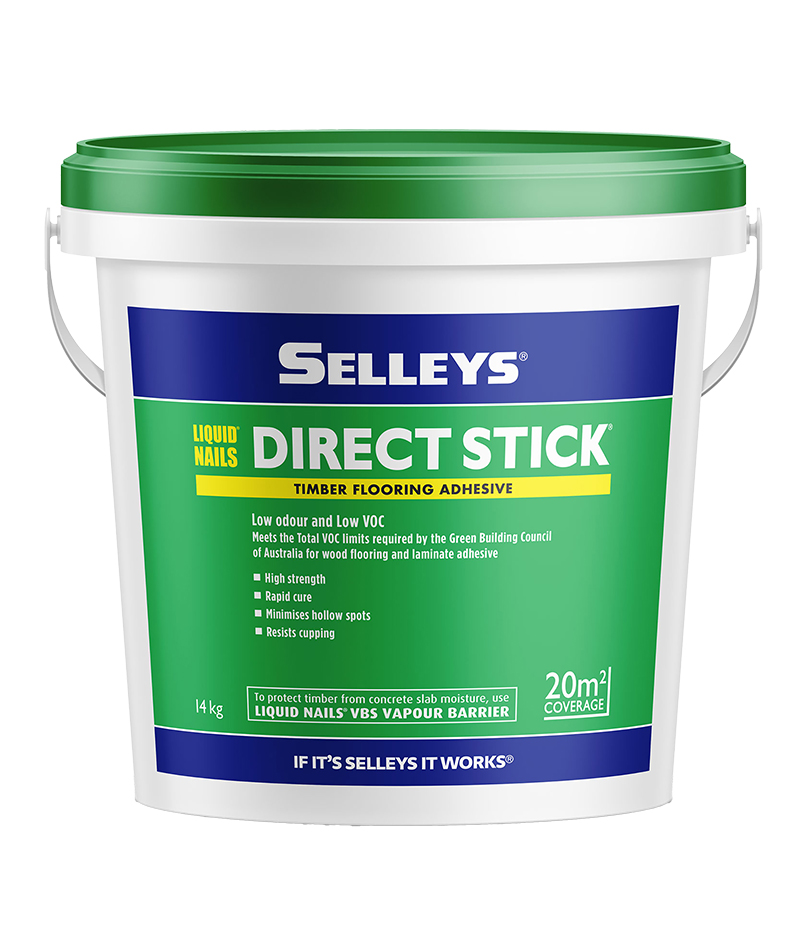
Selleys Liquid Nails Direct Stick
- High strength bond
- Semi-rigid formula
- Reduces cupping/rafting
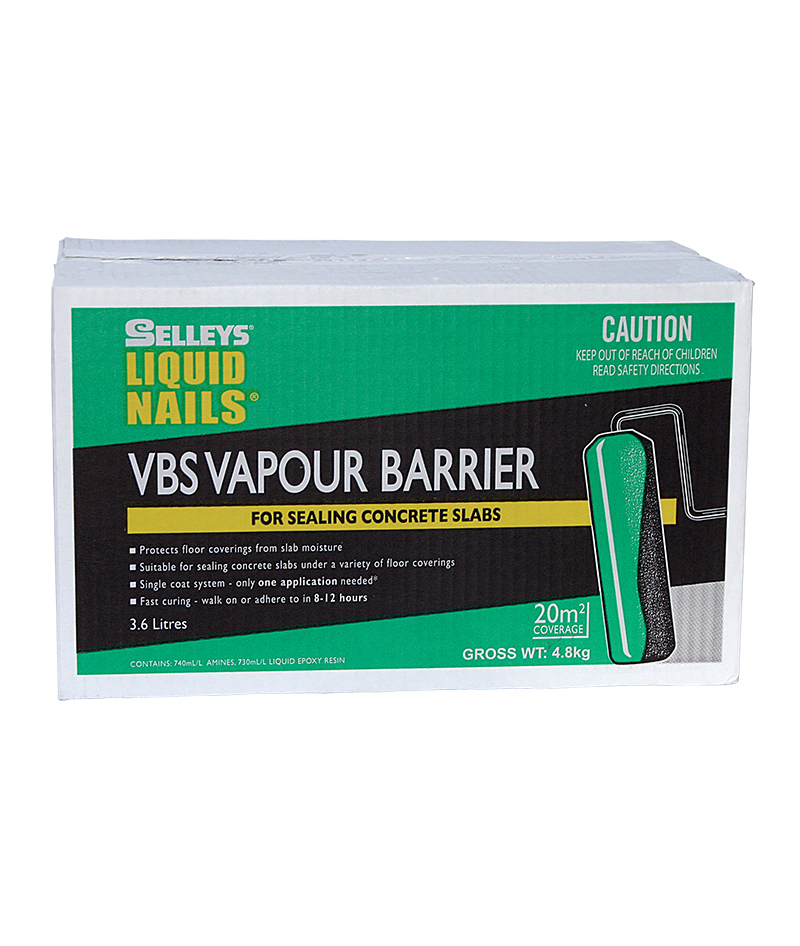
Selleys Liquid Nails VBS Vapour Barrier
- Two-pack epoxy system
- One coat application
- Colour-coded mix


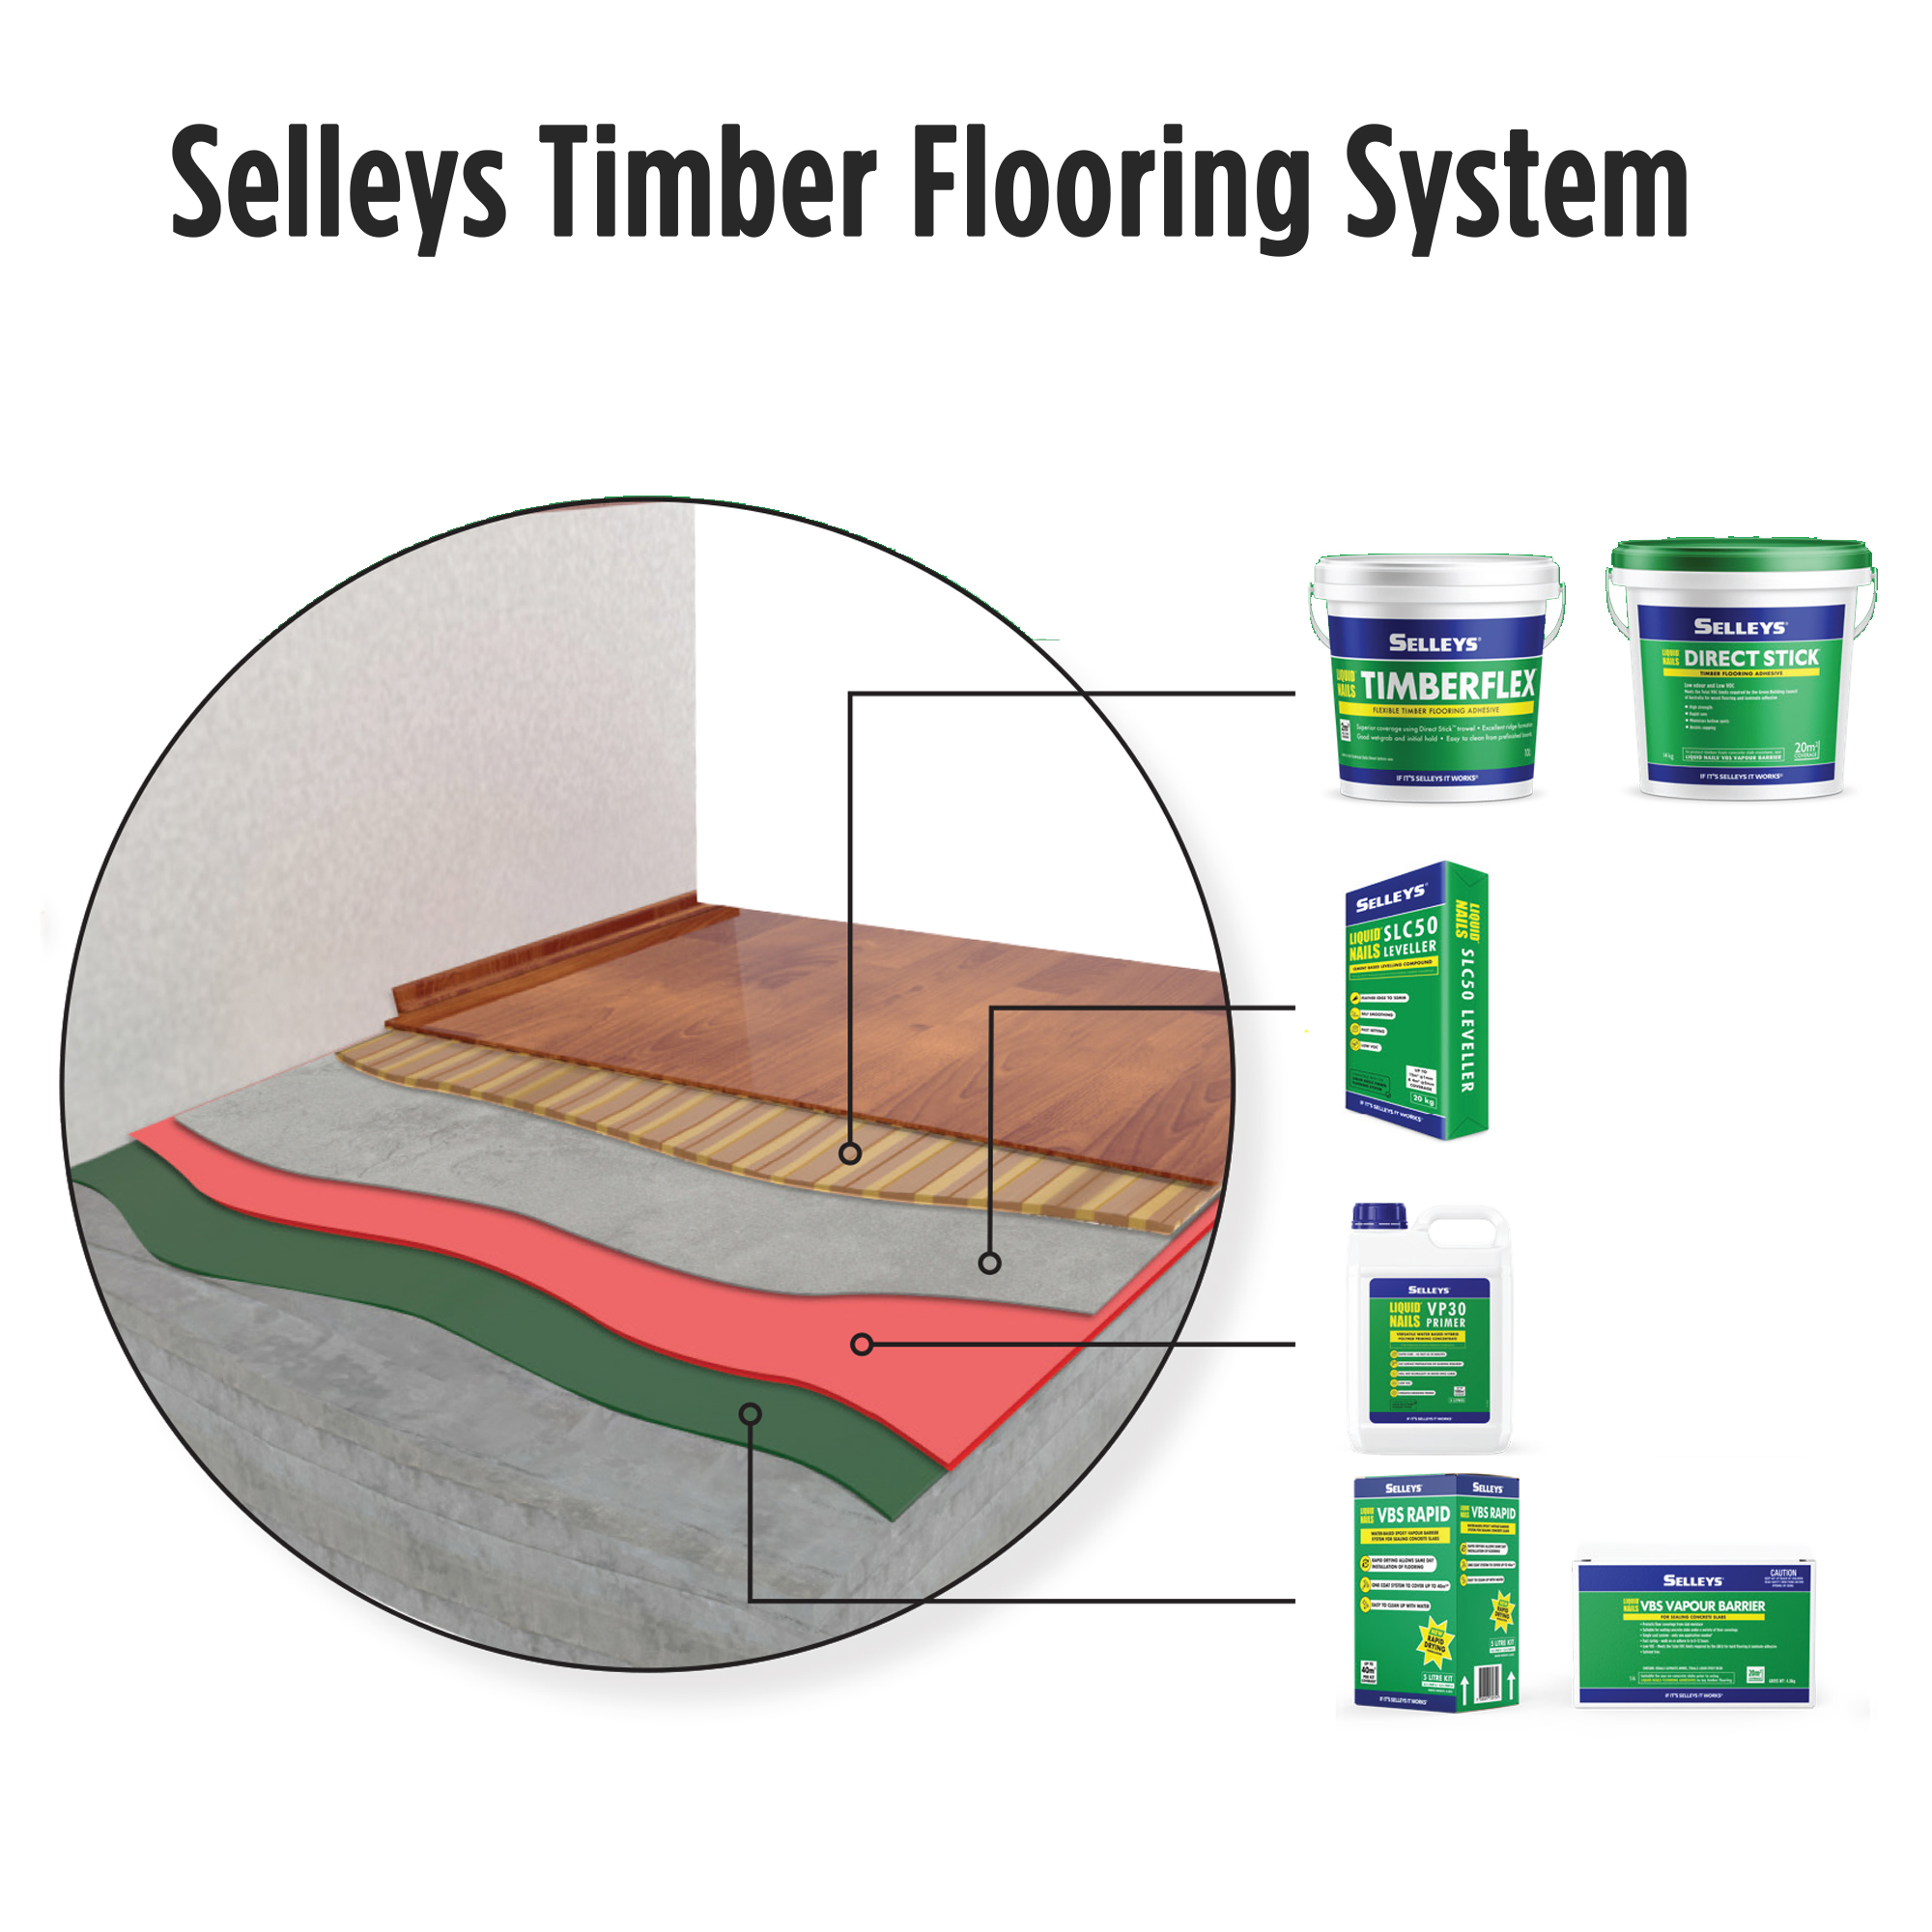
About Flooring
Selleys provides a complete Timber Flooring System that guarantees your timber floor installation is done correctly the first time. Proper subfloor preparation is essential for ensuring the longevity of your new flooring. Refer to the reverse page for detail on the Selleys Timber Flooring System products.

Share
Share this Product with your friends